
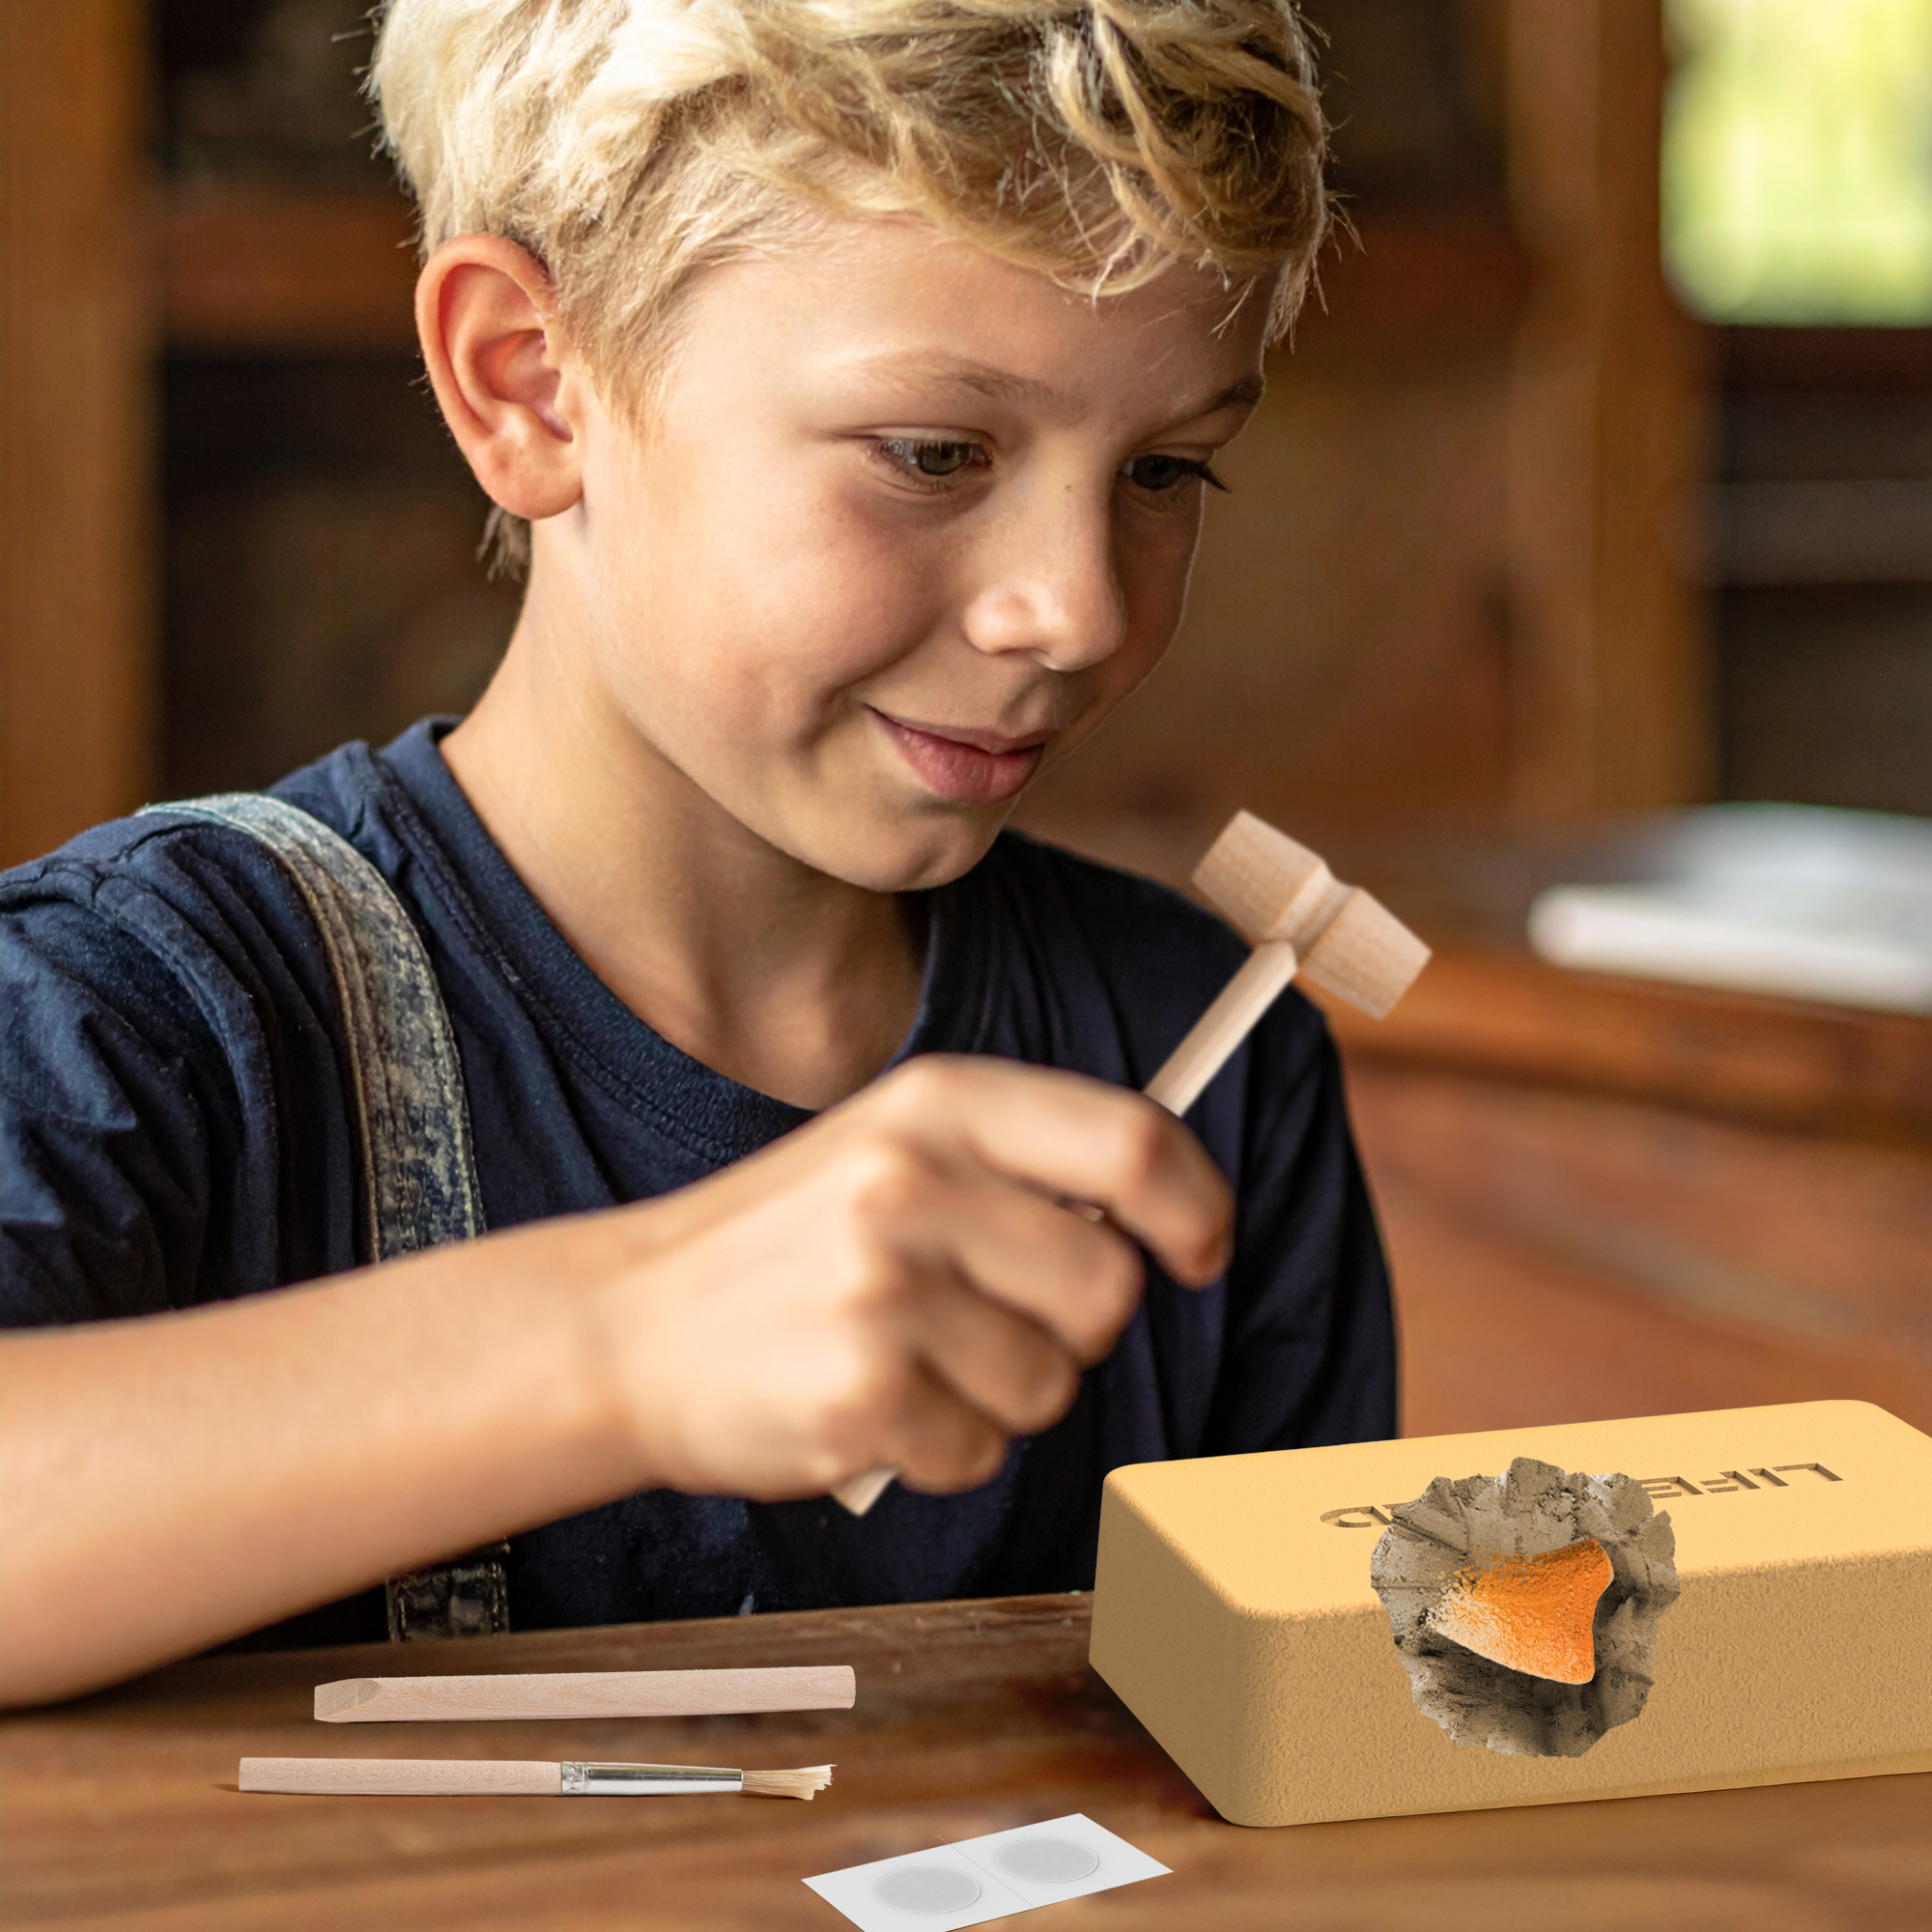
A mineral specimen identification kit gives children a simple way to explore real rocks and minerals at home. Instead of only looking at pictures, they can hold a specimen, look closely at its surface, compare it with other samples, try simple tests, and record what they find.
This kind of hands-on activity matches a basic idea in science education: children learn more about scientific thinking when they ask questions, make observations, test ideas, look at evidence, and explain what they found.[1]
A good mineral kit does more than give a child colorful stones. It gives the child a simple process: look, compare, test, record, and explain.
A mineral identification kit is also different from a general rock collection, a gemstone set, or an excavation toy.
| Type of Kit | Main Focus | Best Suited For |
|---|---|---|
| Mineral identification kit | Observing and testing specimens to work out what they may be. | Children who like asking why different rocks look or behave differently. |
| General rock collection | Collecting and displaying different rocks and minerals. | Children mainly interested in collecting specimens. |
| Gemstone set | Focusing on color, beauty, polished stones, and display. | Children attracted mainly to colorful or polished stones. |
| Dig or excavation kit | Digging hidden objects out of a block. | Children who enjoy digging and discovery. |
For parents, the number of pieces in the box is only one part of the decision. A useful kit should include specimens that are clearly different from one another, tools that suit the child’s age, instructions that are easy to follow, and enough information to help the child understand what each test result means.
Hands-On Learning
Real Mineral Specimens
Real specimens are the main reason to choose a mineral identification kit. Children can see differences in color, shine, texture, hardness, shape, and other physical properties that are difficult to understand from a flat picture alone.
The U.S. National Park Service notes that studying rocks and minerals can help children learn about earth science, chemistry, physics, mathematics, crystal shapes, and three-dimensional objects.[2]
For a beginner, a few dozen clearly different specimens are often easier to explore than hundreds of poorly organized stones. There is no fixed industry rule for the perfect number of samples. What matters more is whether the specimens show useful differences and whether the child can keep them organized.

Quartz, calcite, pyrite, magnetite, gypsum, muscovite, biotite, feldspar, and other common specimens can show different combinations of:
- Color.
- Luster, or how the surface reflects light.
- Transparency.
- Hardness.
- Streak.
- Magnetism.
- Cleavage.
- Fracture.
- Crystal form.
The National Park Service explains that minerals can be described and identified by properties such as color, hardness, luster, streak, cleavage, and specific gravity.[3]
The 36-piece Gamerside Rock Collection for Kids is one example of a collection that gives children real rocks, gemstones, and crystals to observe and compare. It also includes a rock identification guide and an activity book.
Real specimens can turn a simple question into a useful science activity:
“Why is this one shiny while that one looks dull?”
Instead of giving the answer immediately, a parent can ask the child to look more closely. Does the surface look metallic, glassy, pearly, waxy, earthy, or dull? Does the whole specimen look the same, or do different parts have different surfaces?
Before children begin identifying specimens, it also helps to explain the difference between a mineral, a rock, a gemstone, and a crystal.
| Term | Simple Meaning | Example |
|---|---|---|
| Mineral | A naturally formed solid with an ordered internal structure and a chemical composition that stays within certain limits. | Quartz or calcite |
| Rock | A natural material made of one or more minerals or other mineral-like materials. | Granite |
| Gemstone | A natural material, often a mineral, valued for beauty, rarity, durability, or use in jewelry and display. | Gem-quality amethyst |
| Crystal | A solid whose atoms are arranged in an ordered pattern. Many minerals form crystals. | A quartz crystal |
The National Park Service describes a mineral as a naturally formed solid with an ordered internal structure and a definite chemical composition within certain limits.[3]
A useful beginner collection should let a child compare clear differences, such as:
- A metallic specimen and a non-metallic specimen.
- A soft mineral and a hard mineral.
- A magnetic sample and a non-magnetic sample.
- A transparent specimen and an opaque specimen.
- A specimen with clear cleavage and one with irregular fracture.
- Different crystal shapes.
- Different streak colors when streak testing is suitable.
These comparisons help children understand one of the most important ideas in mineral identification: two specimens may look similar but still be different minerals, and one mineral can sometimes appear in several different colors.
Some natural specimens also need extra care. Galena, for example, is a lead-bearing mineral. If a children’s kit includes galena or another lead-bearing specimen, children should not lick it, put it in their mouth, sand it, grind it, or crush it into dust. Hands should be washed after handling it. The CDC states that there is no known safe level of lead in children’s blood and that lead can enter the body through swallowing contaminated material or breathing lead-containing dust.[4]
Known kit specimens should also be kept separate from unknown rocks found outdoors. A simple labeling system can prevent confusion:
- K01, K02, K03: known kit specimens.
- F01, F02, F03: field specimens collected outdoors.
- U01, U02, U03: unknown specimens that still need to be identified.
This is especially useful when two stones have a similar color but different physical properties.
Simple Scientific Skills
A mineral identification kit can introduce several simple science skills:
- Looking closely at color and transparency.
- Describing luster.
- Comparing hardness.
- Testing magnetism.
- Examining streak.
- Looking for cleavage or fracture.
- Observing crystal shape.
- Using a supervised reaction test when appropriate.
The goal is not to perform every possible test on every specimen. The child should choose useful tests and combine the results before deciding what the specimen might be.
One test result is usually not enough to identify an unknown mineral.
Color is a good example. Quartz can be clear, white, purple, pink, smoky gray, yellowish, or other colors. Two completely different minerals may also have a similar color.
A better approach is to ask:
- What can I see before I touch or test the specimen?
- Which simple test could give me useful new information?
- Does the result support my first guess?
- Could another mineral have similar properties?
- Do I have enough evidence to make a confident identification?
The Mohs hardness scale is one useful tool. It compares minerals by their resistance to scratching. Talc is at the soft end of the scale, while diamond is at the hard end. Quartz has a Mohs hardness of 7.[3]
| Mineral | Mohs Hardness | Simple Note |
|---|---|---|
| Talc | 1 | Very soft and can be scratched easily. |
| Calcite | 3 | Much softer than quartz. |
| Fluorite | 4 | Harder than calcite but softer than feldspar. |
| Feldspar | 6 | Harder than many common household objects. |
| Quartz | 7 | A common reference mineral on the Mohs scale. |
Hardness means resistance to scratching. It does not mean that a mineral cannot break.
A mineral can be hard enough to scratch another material and still crack or break when dropped.
Household objects such as a fingernail, coin, or steel nail can sometimes be used as rough comparison tools, but their exact hardness can vary. A modern coin may contain different metals, and different types of steel nails do not all have exactly the same hardness.
For this reason, a steel nail alone cannot reliably identify a mineral. It can provide one clue, but the child should still look at other properties.
Streak testing also needs a clear explanation. A streak is the color of the powdered residue that a mineral leaves when rubbed on suitable unglazed porcelain. The streak color may be different from the color of the mineral itself.[3]
Some hard minerals may scratch the streak plate instead of leaving a useful powder streak. That is why streak should be treated as one test among several, not as a universal answer.
Liquid reaction tests need more care. Calcite is calcium carbonate and reacts with acids. However, parents should not assume that every household liquid will produce a clear result on every calcite specimen. If a children’s kit includes a reaction test, use only the material named in the instructions and supervise the activity closely.[3]
A simple identification process can look like this:
- Look at the specimen before trying to name it.
- Record its color, luster, transparency, and visible shape.
- Choose one or more useful tests.
- Compare the results with known specimens or a trusted identification guide.
- Make a possible identification.
- Record how confident you are.
Calcite is a useful example. A child may notice that it has a non-metallic luster, relatively low hardness, and flat cleavage surfaces. An appropriate supervised reaction test may provide another clue.
No single clue proves that the sample is calcite. The answer becomes stronger when several properties agree.
“The evidence suggests this may be calcite” is better than saying “This is definitely calcite” after looking only at its color.
This basic approach is closely connected to how science is taught more broadly: ask a question, gather evidence, compare results, and explain the conclusion.[1]
The Piano Potato DIY slime and bouncy-ball post gives another example of using a simple sequence of reading, predicting, testing, recording, and reviewing in a hands-on STEM activity.
Building Better Observation Habits
Good observation starts before identification. A child who immediately says, “This is quartz because it is white,” is making a guess. A child who first looks at luster, transparency, hardness, streak, and crystal shape is collecting evidence.
Describe first. Test second. Name last.
A child can begin with simple questions:
- Is the surface metallic, glassy, pearly, waxy, earthy, or dull?
- Is the specimen transparent, translucent, or opaque?
- Are there repeated smooth, flat surfaces that might be cleavage?
- Does it break in an irregular way?
- Can it be scratched by a simple reference material?
- Is it attracted to a magnet?
- Does it leave a useful streak?
- Does one part of the specimen look different from another?
The 250-stone specimen set includes more than 250 minerals, fossils, and gemstones, along with a magnifying glass, guide, and identification sheet. With a large collection like this, good organization becomes especially important.
A simple notebook can help prevent the activity from becoming a repeated guessing game.
| Notebook Field | What to Record |
|---|---|
| Sample ID | A simple code such as K01 or F03. |
| Date and source | When the sample was examined and whether it came from a kit, gift, purchase, or outdoor trip. |
| Visual notes | Color, luster, transparency, shape, and texture. |
| Test results | Hardness comparison, streak, magnetism, or other suitable results. |
| Possible identification | The best current answer. |
| Confidence | High confidence, possible, or unsure. |
Younger children do not need to fill in every field. They might begin with only a sample number, color, one other observation, one test result, and a possible name.
A simple confidence system can help:
- High confidence: several properties match.
- Possible: some evidence fits, but more checking is needed.
- Unsure: there is not enough evidence yet.
An honest “unsure” is better than a confident answer based on one visual clue.
The same habit can also be used with leaves, shells, insects, soils, and other natural objects: observe carefully, record what you see, compare the evidence, and change your answer when better information becomes available.
Safe Tools for Children
Simple Testing Steps
Safety should be the first thing parents check when choosing a children’s mineral kit.
In the United States, ASTM F963 is a mandatory consumer product safety standard for children’s toys. The U.S. Consumer Product Safety Commission explains that different rules may apply to small parts, hazardous edges, hazardous points, lead, other heavy metals, magnets, and other product features. Not every part of the standard applies to every toy, because requirements depend on the product and its intended users.[5]
Parents should look for:
- A clear recommended age range.
- Warnings that match the actual parts and tools in the kit.
- Specimens without unnecessary sharp edges or loose fragments.
- Clear instructions for each tool and test.
- Secure storage for small pieces.
- Eye protection when an activity may create flying fragments or dust.
- Clear information about when adult supervision is needed.
The Earth Gemstone Dig Kit is an example of an excavation-style activity. Excavation kits and mineral identification kits may involve different risks, so parents should look at the actual activity rather than assuming all geology kits are the same.
| Activity | What to Watch For |
|---|---|
| Visual observation | Check natural specimens for sharp points and loose fragments. |
| Magnetism test | Keep small magnets away from the mouth and prevent swallowing. |
| Scratch testing | Supervise pointed tools and do not use more force than needed. |
| Streak testing | Handle ceramic plates carefully and avoid creating unnecessary dust. |
| Excavation | Watch for dust, small fragments, flying pieces, and cleanup needs. |
| Liquid reaction test | Use only the specified material and provide adult supervision. |
Age matters, but age alone does not tell the whole story. Reading ability, attention, experience, hand control, and the type of tools included should all affect how much supervision a child needs.
| Age Range | Practical Starting Activities |
|---|---|
| Around 6 to 8 | Visual observation, color, luster, texture, transparency, sorting, magnetism, and simple supervised comparisons. |
| Around 9 to 12 | More systematic hardness comparison, streak testing, cleavage and fracture observation, record keeping, and carefully supervised reaction tests when suitable. |
These are practical suggestions, not strict rules. Some younger children may be ready for more detailed activities, while some older children may still need close supervision.
Basic safety habits should include:
- Do not place unknown specimens in the mouth.
- Do not lick or taste them.
- Do not deliberately smell unknown minerals at close range.
- Do not grind, sand, or crush unknown specimens into dust.
- Wash hands after handling natural specimens.
- Inspect samples for sharp points or loose fragments before use.
- Keep testing activities away from food preparation areas.
- Clean tools, trays, and the work surface after the activity.
Use the right tool, avoid unnecessary dust or contact, keep the work area controlled, and clean up afterward.
Clear Instruction Cards
For young readers, a short instruction card can be easier to follow than a long booklet. The clearest cards focus on one test or one task at a time.
The Dino Egg Excavation Kit is one example of pairing a hands-on activity with learning cards.
A useful test card should answer four questions:
- What tool should I use?
- What should I do?
- What should I look for?
- What should I write down?
The instructions should also explain what the result means.
| Test | What the Instructions Should Explain |
|---|---|
| Magnetism | How to use the magnet and whether the attraction is strong, weak, or absent. |
| Hardness | That a real scratch is a groove in the surface, not loose powder or a mark that wipes away. |
| Streak | That streak is the color of powdered residue and may differ from the visible color of the specimen. |
| Cleavage | That repeated smooth, flat break surfaces may be useful evidence, but one flat side alone does not prove cleavage. |
| Liquid reaction | What material to use, how much to use, what to look for, and whether an adult must supervise. |
This helps prevent a common problem: the child follows the steps correctly but does not understand what the result means.
For example, a child may rub a mineral on a streak plate and see a dark line. A useful instruction card should tell the child to record the streak color, compare it with the visible color of the specimen, and treat the result as one clue rather than a final answer.
Parents do not need to know every mineral name in advance. They can guide the activity with a few simple questions:
- “What did you actually see?”
- “Which test gave you new information?”
- “Did any result disagree with your first guess?”
- “Do you have enough evidence yet?”
This keeps the focus on observation instead of turning the activity into a race to guess the right name.
Parent-Friendly Design
A parent-friendly kit should be easy to set up, easy to understand, and easy to put away.
Convenience should mean that both parent and child can quickly understand what to do next.
The Piano Potato product safety page provides general product-safety information for parents. For any children’s kit, parents should also check the specific age label, warnings, tools, specimen size, and testing instructions for the exact product they are buying.
Before choosing a kit, useful questions include:
- Are specimens numbered or clearly matched with identification information?
- Can the activity begin without finding many extra materials?
- Does every tool have a clear purpose?
- Do the instructions explain what test results mean?
- Are extra household materials required?
- Can all pieces return to clearly marked storage spaces?
- Can a parent with no geology background guide the basic activity?
Storage matters because a well-organized kit is easier to use again.
A practical system may include:
- A divided specimen tray.
- Numbered compartments.
- A separate place for unknown outdoor finds.
- A pouch or compartment for tools.
- A notebook or record sheet stored with the kit.
- A short cleanup checklist.
The value of a mineral kit should not be judged by promises about a fixed number of hours or years. A durable collection can stay useful as long as the child keeps finding new ways to use it.
The same specimens can later be:
- Re-examined with a magnifier.
- Compared with outdoor finds.
- Reorganized by hardness, luster, or other properties.
- Photographed and added to a digital record.
- Used in a school project.
- Reidentified when better evidence becomes available.
Fun Away from Screens
Parent-Child Learning Time
A real mineral specimen gives children information that a flat image cannot fully provide. They can feel its weight, look at surface texture, move it under different light, test magnetism, compare hardness, and study its three-dimensional shape.
That does not mean digital resources are bad. The two formats can work together:
- Digital resources can show rare minerals and places a family may never visit.
- Physical specimens allow touching, comparing, testing, and recording.
- A child can examine a specimen first and then use a reliable digital reference to learn more about it.
The Piano Potato post on countdown STEM activities gives another example of a structured hands-on activity that families can do together.
A simple 30-minute mineral session might look like this:
- 5 minutes: Choose a specimen and read the task.
- 15 minutes: Observe it and perform one or two suitable tests.
- 5 minutes: Record the results.
- 5 minutes: Compare the evidence with a guide and discuss the possible answer.
The exact timing is not important. What matters is that the child does the observing and thinking instead of waiting for the adult to give every answer.
Words such as metallic, glassy, dull, transparent, translucent, magnetic, cleavage, fracture, hardness, and streak become easier to understand when the child uses them to describe a real specimen.
Outdoor Exploration Ideas
Using a mineral kit alongside outdoor exploration can help children see the difference between a prepared reference sample and a real field specimen.
A kit specimen may be clean, labeled, and chosen because it shows a property clearly. An outdoor sample may be dirty, weathered, irregular, partly covered with soil, or made of several minerals.
Rocks are commonly grouped into three major types: igneous, sedimentary, and metamorphic. Real field identification can be more difficult than looking at a kit sample because rock type depends on features such as composition, grain size, texture, and how the rock formed.[6]
A gold-panning kit is another example of moving from a tabletop activity toward a more field-like form of exploration.
A simple outdoor routine is:
- Bring a hand lens, notebook, pencil, and small tray.
- Look at rocks in the area before collecting anything.
- Record color, texture, grain size, visible minerals, and location.
- Take a photograph of the specimen where it was found.
- Check whether collecting is legal and allowed.
- If collection is allowed, give the specimen a unique field number.
- Compare it with known specimens at home.
Useful field notes can include:
- Where the specimen was found.
- Whether it was loose or attached to bedrock.
- Whether similar rocks were nearby.
- The surrounding soil or landscape.
- Approximate size.
- Date.
Families should collect responsibly. In U.S. national parks, federal regulations generally prohibit removing, damaging, digging up, or disturbing mineral resources unless a specific exception or authorization applies.[7]
- Do not remove rocks where collecting is prohibited.
- Do not trespass on private property.
- Check local rules before collecting on public land.
- Avoid unstable cliffs, active quarries, mine waste, industrial sites, and contaminated ground.
- Do not smash unknown specimens just to create a new surface.
- Do not grind field specimens into dust.
When a specimen cannot legally or safely be collected, a photograph can still preserve useful information about its color, texture, size, and setting.
Outdoor identifications should also stay tentative when the evidence is incomplete. A child can record “possible quartz” instead of forcing every find into a definite category.
A Lasting Rock Collection
A well-organized collection can remain useful long after the first activity. Its value comes not only from the specimens themselves, but also from knowing where they came from, what was observed, and how the identification was made.
The Piano Potato help center provides practical support information for product users, while a child’s own notebook can turn a simple box of rocks into a long-term record.
A basic label may include:
- Sample ID.
- Date.
- Source or collection location.
- Possible identification.
Older children can add:
- Luster.
- Streak.
- Hardness.
- Magnetism.
- Transparency.
- Cleavage or fracture.
- Photograph number.
- Confidence level.
The sample number should stay the same even if the name later changes. For example, F07 can remain F07 whether it is first labeled “possible quartz,” later changed to “feldspar,” or left unidentified.
This makes it easier to follow the history of the specimen without confusing it with another sample.
Careful labeling is not only useful for children’s collections. The Smithsonian National Museum of Natural History’s Department of Mineral Sciences holds more than 600,000 specimens that are available for scientific study, showing how important organized physical collections can be when specimens and their records are kept together.[8]
A lasting rock collection can support later learning about:
- The rock cycle.
- Mineral properties.
- Crystal structure.
- Weathering and erosion.
- Plate tectonics.
- Natural resources.
- Mining and material use.
- Environmental responsibility.
A piece of quartz that once seemed like only “a shiny rock” may later become an example of:
- Mohs hardness.
- Silicon dioxide composition.
- Crystal structure.
- Color variation.
- Occurrence in different rock types.
- Industrial uses.
This is one of the strongest reasons to choose a mineral specimen identification kit for a curious child. The same physical specimen can support different questions as the child’s knowledge grows.
A useful starter kit should provide real specimens, clear differences between samples, age-appropriate tools, easy instructions, basic safety guidance, and a way to record observations.
Real mineral identification is not about matching one color to one name. It is about looking closely, comparing evidence, testing ideas, and changing an answer when better information becomes available.
For a child who enjoys collecting natural objects, comparing details, asking why materials behave differently, or keeping records of discoveries, a mineral identification kit can be a practical introduction to scientific thinking.
The best choice is the one that matches the child’s interests while providing suitable specimens, clear instructions, sensible safety controls, and enough depth to stay useful after the excitement of opening the box has passed.