
Science Kits vs. DIY Supplies: Quick Comparison
| Situation | Usually Better Value | Reason |
|---|---|---|
| First science project | Science kit | The materials and instructions already match |
| One-time activity or gift | Science kit | You do not need to buy tools that may never be used again |
| Project with specialized parts | Science kit | No need to hunt down several separate components |
| Regular home science | DIY or hybrid | Basic equipment can be reused |
| Several children | DIY or hybrid | Many tools can be shared |
| Repeated trials | DIY often has an advantage | Consumables are usually easier to replace separately |
| Child changes variables or designs tests | DIY | The activity is not locked into one set of instructions |
| Most tools already at home | DIY | You only need to buy the missing materials |
If your child would rather build, take things apart, and rebuild them than run experiments, it is also worth comparing science experiment kits and STEM building kits.
Calculate the Cost per Experiment You Actually Finish
Cost per completed experiment = total new spending ÷ experiments actually completed
Count everything you have to buy:
- the kit or separate materials;
- measuring and handling tools;
- safety equipment;
- replacement consumables;
- specialized parts;
- shipping for items bought separately.
Do not divide the price of a kit by the experiment count printed on the box and stop there. Some activities need extra materials. Others may never get used.
With DIY projects, split the cost into reusable tools and things that get used up. A ruler, scale, thermometer, tray, or pair of goggles may survive dozens of projects. Powders, specimens, growing materials, and reaction ingredients may be gone after one afternoon.
A Kit Often Wins When You Need to Buy Several Tools
A DIY activity can look cheap because the main ingredients cost very little. Then you realize you still need containers, droppers, measuring tools, eye protection, or some oddly specific part.
Compare the complete kit price with the price of every new item needed for the DIY version.
Piano Potato’s guide to what an entry-level children’s science kit includes separates reusable tools from consumables. Use the same approach when comparing prices.
For a one-off gift, this matters even more. Nobody wants to open a science activity and then discover that three important pieces are missing. A gemstone dig kit, for example, puts the excavation block, digging tools, specimens, and identification activity in one package.
Specialized Parts Can Make DIY More Expensive Than It Looks
DIY is at its best when the same equipment can be used again and again:
- rulers;
- clear containers;
- droppers;
- magnets;
- funnels;
- measuring tools;
- general craft supplies.
The math changes when one project needs several single-purpose pieces. Think specific circuit components, mineral samples, optical parts, prepared specimens, or special growing materials.
Buying each piece separately can also mean leftover parts and several shipping charges.
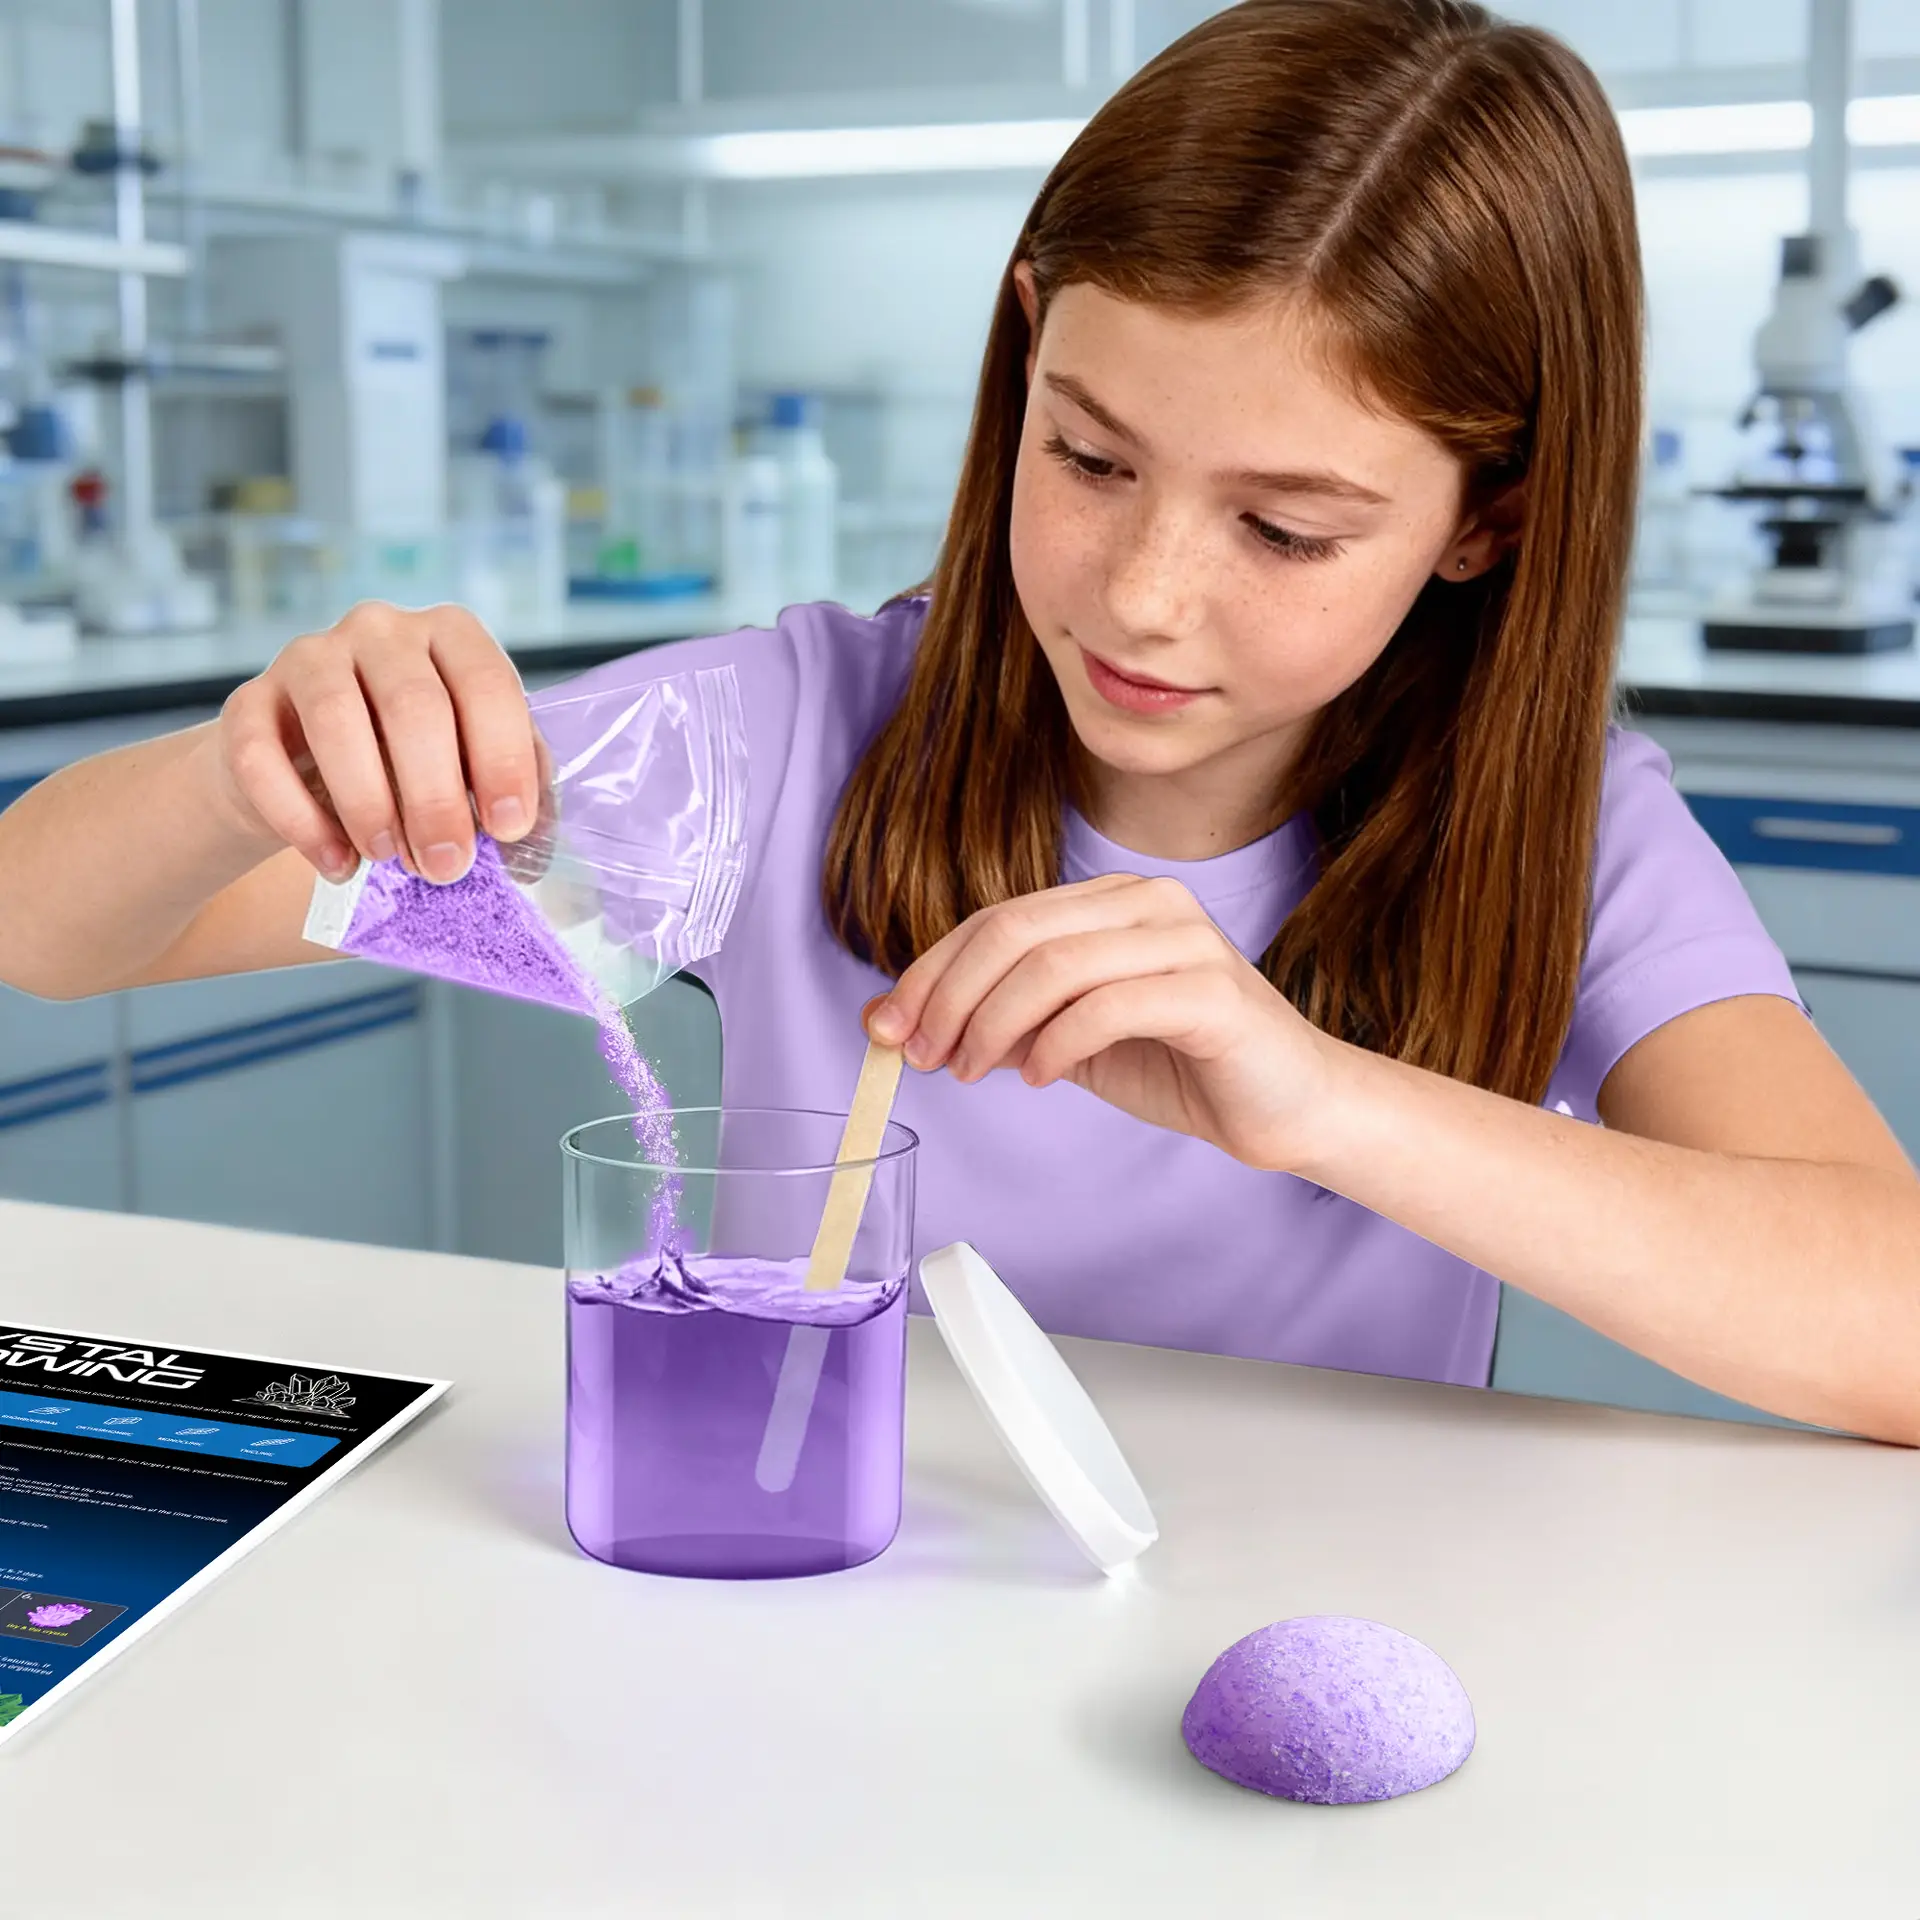
A self-contained crystal-growing experiment kit avoids that by packaging the main growing materials and supporting pieces for one activity.
Check what is really inside the kit before buying.
Send the child’s age, science topic, group size, and planned activity. Ask what comes in the box, what gets used up, which tools can be reused, and what you still need to provide at home.
DIY Gets Cheaper as You Reuse the Tools
A reusable tool becomes cheaper every time you use it again.
That includes:
- goggles;
- thermometers;
- scales;
- rulers;
- funnels;
- trays;
- droppers;
- measuring containers;
- magnifiers;
- reusable circuit components.
Use a tool once and that whole purchase belongs to one project. Use it across ten projects and the cost is spread much further.
This also works well for siblings, homeschool groups, and small classes. A scale or thermometer can be shared. Consumables are different: you still need enough material for every child.
For group activities, check:
- which tools can be shared;
- how much consumable material each child needs;
- whether everyone needs to work at the same time;
- whether every child needs a separate finished project;
- whether replacement materials are easy to buy.
Check Consumables, Refills, and Whether You Can Repeat the Activity
If a packet contains exactly enough material for one attempt, that is all you get.
Extra material gives the child room to try again, fix a failed attempt, or change one condition and compare the result.
Before buying, ask:
- what runs out;
- how many activities use the same consumable;
- whether refills exist;
- whether suitable replacements can be bought separately;
- whether replacement materials need special storage or handling.
DIY is often easier to refill when the material is sold everywhere. A refillable kit can work just as well. You have to check the actual product.
Buying in bulk is not automatically cheaper either.
Material utilization = amount used ÷ amount purchased
A low price per gram means little if half the material expires, leaks, degrades, or ends up in the trash.
Before buying a big pack, check shelf life, storage, disposal instructions, and whether you have other projects that will actually use the leftovers.
Repeated Trials Usually Give the Activity More Depth
One trial tells you what happened once. Repeating it tells you whether the result keeps happening.
A child may need to:
- keep some conditions the same;
- change one variable;
- measure what happens;
- run the test again;
- compare the results.
The American Chemical Society includes observation, measurement, controlled variables, data recording, and evidence-based conclusions in elementary science activities.[1]
A kit with tiny amounts of consumable material can make repeat trials difficult. DIY supplies and refillable kits usually leave more room to run the same procedure again.
Ignore the Big Experiment Number on the Front of the Box
A kit may advertise dozens of experiments while counting small variations of the same activity as separate experiments.
Look at what the child actually does:
- predict;
- observe;
- measure;
- record;
- compare;
- change a variable;
- repeat a test;
- explain the result.
National Academies guidance separates scientific inquiry from simply doing something with your hands. Children need chances to ask questions, use evidence, and explain what they find.[2]
A fizz, a color change, a growing crystal, or an excavation gets attention. The science gets stronger when the child starts measuring, sorting, comparing, or asking why it happened.
After a geology activity, for example, children can compare specimens by color, texture, transparency, and visible structure. Piano Potato’s guide to what is inside a gem dig kit can help with identification after the digging is done.
DIY Takes More Work Before the Experiment Starts
With DIY, the adult usually becomes the person responsible for sourcing and setup.
That can mean:
- finding a reliable procedure;
- checking quantities;
- buying missing materials;
- checking whether substitutions are suitable;
- preparing the work area;
- planning cleanup;
- storing whatever is left.
A kit removes a lot of that work because the material list and procedure are already set.
Look Around the House Before Buying Anything
You may already own much of a basic DIY setup:
- measuring spoons;
- clear containers;
- rulers;
- flashlights;
- magnets;
- string;
- cardboard;
- tape;
- craft sticks;
- plastic trays.
If those tools are suitable for the activity, you may only need to buy the experiment-specific materials.
A home science discovery corner is one way to keep reusable tools together instead of starting from zero every weekend.
Safety Equipment Is Part of the Cost
If a DIY experiment needs safety equipment, put that in the budget too.
Depending on the activity, you may need:
- eye protection;
- spill trays;
- dedicated measuring tools;
- closed storage;
- adult-only storage for some materials.
The American Chemical Society recommends reading the full procedure first, using the specified protective equipment, keeping food and drinks away from the work area, handling waste properly, and washing hands afterward.[3]
Do not swap in unfamiliar cleaners, solvents, medicines, or concentrated chemicals just because they look similar to something in the instructions.
CDC guidance says household bleach and disinfectants should never be mixed with other cleaners because dangerous vapors can be released.[4]
A ready-made kit still needs a safety check. The CPSC states that kits designed and primarily intended for children age 12 or younger are treated as children’s products for applicable requirements.[5]
Applicable children’s toys are also subject to third-party testing and certification requirements.[6]
Check:
- age guidance;
- adult-supervision requirements;
- small-part warnings;
- heat;
- included chemicals;
- batteries;
- magnets;
- storage;
- disposal.
If a younger child can reach the activity area, think about that child too. CPSC rules cover small-part choking hazards for products intended for children under three, along with warning requirements for certain products aimed at older children.[7]
A Hybrid Setup Often Makes the Most Sense
Start with a kit when the topic is new or the project needs specialized parts.
Keep the useful tools afterward.
For later experiments, buy only the consumables you need.
This avoids two common wastes:
- buying a full DIY setup before you know whether the child even likes the subject;
- buying another complete kit just to get another ruler, tray, dropper, or measuring cup.
What to Check Before Buying a Science Kit
- Extra items: What still has to come from home?
- Consumables: What gets used up?
- Refills: Can you replace those materials later?
- Repeatability: Can the activity be done more than once?
- Reusable tools: What remains useful after the supplied activities are finished?
- Learning depth: Does the child measure, compare, record, or explain anything?
- Safety: What supervision, storage, or protective equipment is needed?
- Compatibility: Are replacement parts, batteries, and materials easy to find?
What to Put in a DIY Science Box
Buy equipment as your planned activities actually need it.
- appropriate eye protection;
- clear containers;
- droppers;
- measuring tools reserved for experiments when needed;
- ruler;
- thermometer when needed;
- scale when needed;
- funnels;
- magnifier;
- tray;
- craft sticks;
- tape;
- string;
- a notebook for observations and measurements.
There is no need to buy a microscope, electronics platform, large glassware set, or specialist sensor before a real project calls for it.
Comparing a kit with a DIY setup for several children?
Share the topic, number of learners, and the tools you already own. Compare shared equipment, consumables per child, refill needs, and any parts each child needs to keep.
Finally
Choose a science kit when you want a complete first project, an easy gift, or an activity with specialized parts. Choose DIY when you already have reusable tools or expect to run the activity many times. Add up the full cost before deciding. A cheaper box does not always mean a cheaper experiment.