
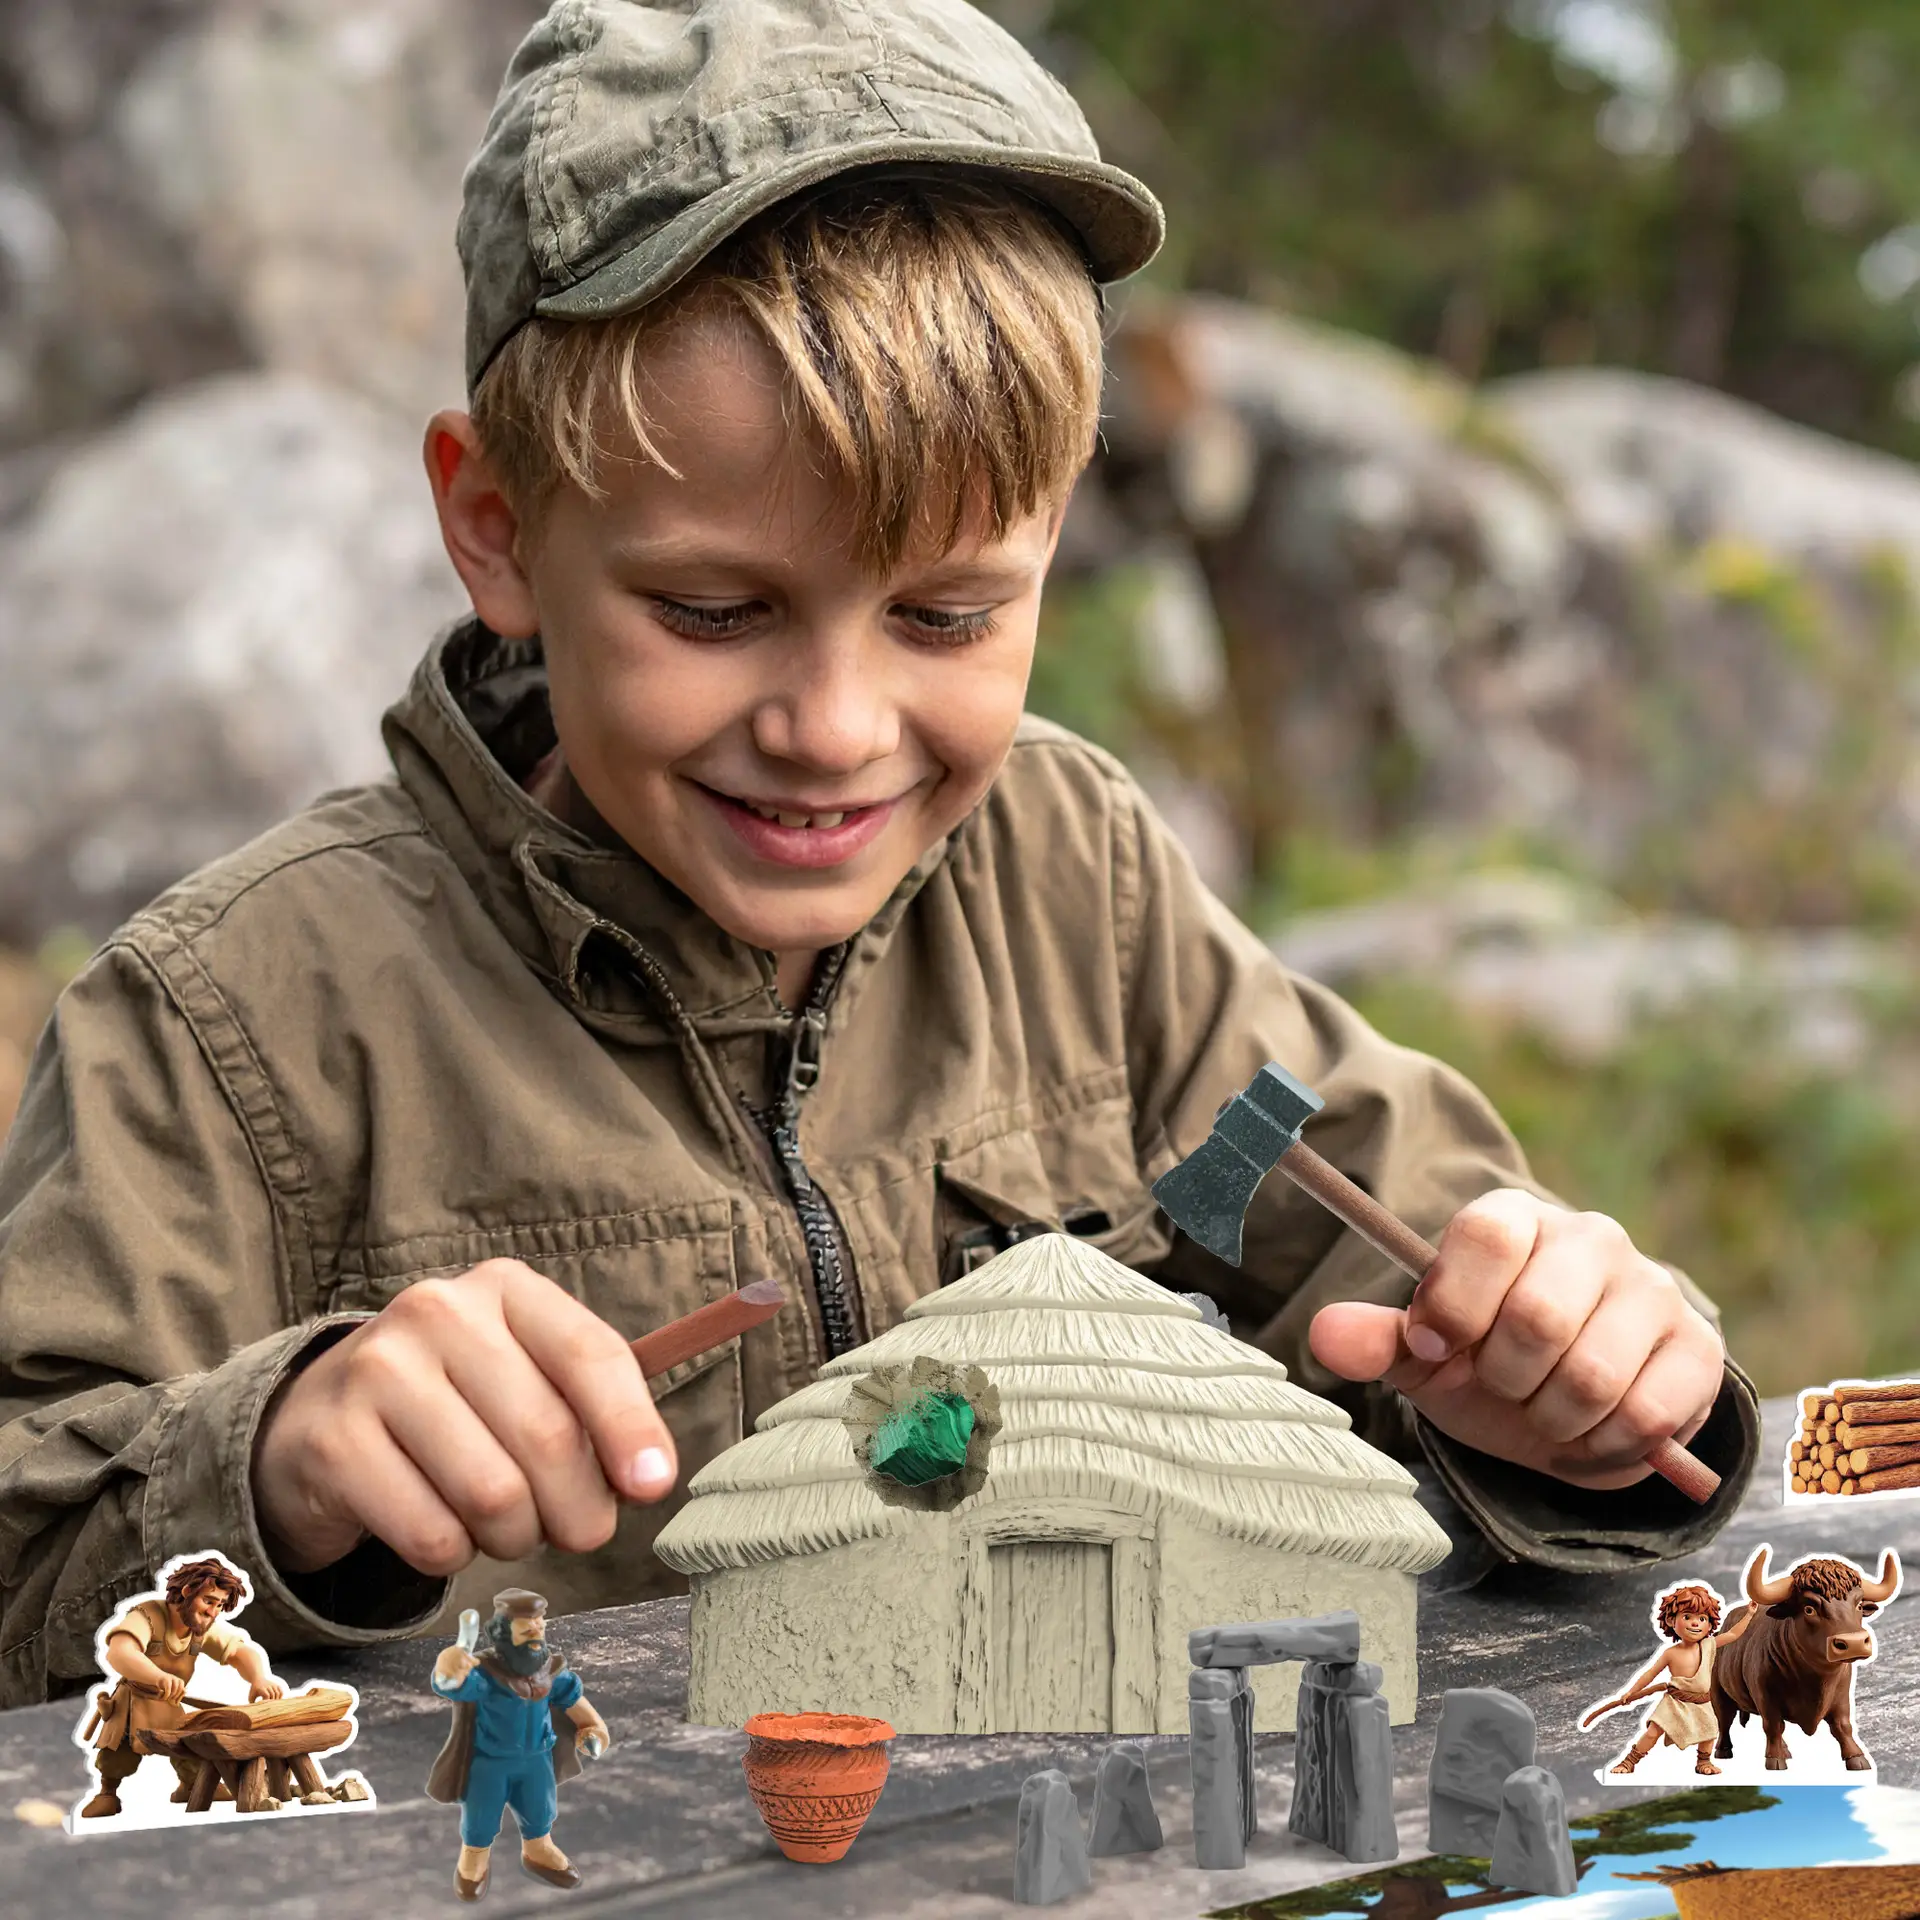
Compare children’s archaeology kits by what they uncover, which tools they include, and what children can do with the finds afterward. Choose a skeleton kit for assembly, an artifact-replica kit for history activities, or a mineral kit for identification and collecting. For an archaeology-focused activity, look for a site map and discovery records—not just buried objects. Check the age label before comparing prices.
Themes
| Theme | Details to Check | Follow-Up Activity |
|---|---|---|
| Dinosaur skeletons | Species name, bone-piece count, joint design, assembly guide, and whether glue is needed | Build the skeleton and identify its parts |
| Ancient civilizations | Replica names, historical period, region, and explanations of likely uses | Sort objects and write display labels |
| Minerals and rocks | Specimen names, natural or artificial materials, disclosed treatments, and matching identification cards | Compare features and label a collection |
Dinosaur and mineral digs often share the “archaeology kit” label, but they cover different subjects. If the goal is to explore past human life, choose artifacts and settlement activities rather than dinosaur figures. Archaeologists study objects and places that people made, used, or changed.[1]
When comparing real fossils and replica kits, check the stated materials. “Realistic” does not mean genuine. For mineral kits, ask for specimen names and whether the contents are natural, synthetic, dyed, or imitation materials.
A history kit may contain a treasure-hunt story without any historical background. Check a sample artifact card: it should identify the object and explain its period, region, or use.
Tools and Instructions
| Item | What to Check |
|---|---|
| Digging tool | Handle dimensions, age guidance, and directions for applying force |
| Cleaning supplies | Whether the kit provides a brush or requires a separate cloth |
| Tray | Whether it is included and leaves room to work around the block |
| Instructions | Where to begin, how to free exposed objects, whether to add water, and how to dispose of debris |
A “20-piece set” may count stickers, bags, and cards separately. Count the digging tools and blocks yourself. Metal tools are not automatically more suitable for children; use the tools specified for the kit.
If the block requires repeated hard blows, pause and check the preparation instructions. Do not switch to heavier or sharper tools. Add water only as directed, and follow the disposal instructions rather than washing debris down the drain.
Activities After Digging
Check that the promised activity has the parts to support it. Assembly needs a complete set of pieces and joint diagrams. Identification needs cards that match the supplied specimens. A display project may require stands, labels, or storage compartments that cost extra.
For a simulated excavation, look for a marked site map, a recording sheet, and a short explanation of the setting. A child’s record might read:
“Item 01, upper-left section. Flat, with a hole on one side. It may have hung from a cord.”
The hole is an observation; the possible use is a guess. In real excavations, archaeologists record finds and their surroundings before removal because location and associated objects help explain their use.[1] Random placement in a toy block cannot provide that historical evidence.
Age and Safety
Read the age guidance and warnings for the exact model. The U.S. Consumer Product Safety Commission advises following packaging guidance and keeping toys with small parts away from children under 3.[2] Adult supervision does not override the product’s age restriction.
A tray catches debris but does not control airborne dust. Follow the kit’s instructions for dust reduction and protective equipment. Do not blow dust off objects. Pause if digging creates noticeable airborne dust, and stop using the kit if it causes discomfort. Wash hands afterward and store small pieces away from younger children and pets.
Total Cost
Compare the delivered price, including applicable taxes, plus any required supplies. The figures below are a hypothetical calculation in Chinese yuan, not current product prices.
| Expense | Kit A | Kit B |
|---|---|---|
| Delivered price, including tax | CNY 79 | CNY 99 |
| Required extra supplies | CNY 25 | CNY 0 |
| Total | CNY 104 | CNY 99 |
Kit B costs CNY 5 less if you need to buy all the listed supplies. If you already own the supplies for Kit A, its total stays at CNY 79—CNY 20 less than Kit B.
“Reusable” may describe the tools or recovered model, not the digging block. If refills are available, check compatibility and whether they contain new objects.
Time and Group Size
Before relying on a review that says “finished in one hour,” check the child’s age, whether an adult helped, and how the block was prepared. Those details affect how useful the timing is for your own plans.
Six children sharing two single-child workstations need three rounds for everyone to take one turn. Prepare recording sheets or identification tasks for children who are waiting.
The 12-egg excavation kit, for example, lists 12 eggs, 12 chisels, and 12 learning cards for ages 6+. That supplies one egg, tool, and card per child in a group of 12. You still need enough workspace and appropriate adult supervision.